Threejs 基础模板
东北小麦客 2022-03-01 ThreejsWebGL
# Threejs 基础模板
Threejs基础模板
- 参考链接
Threejs创建场景
- https://threejs.org/docs/index.html#manual/zh/introduction/Creating-a-scene
- ThreeJs学习笔记——渲染(render)分析 - 掘金 (juejin.cn)
<!DOCTYPE html>
<html>
	<head>
		<meta charset="utf-8">
		<title>threejs基础模板</title>
		<style type="text/css">
			* {
				padding: 0;
				margin: 0;
			}
		</style>
	</head>
	<body>
	</body>
	<!-- threejs基础包依赖 -->
	<script src="https://cdn.bootcdn.net/ajax/libs/three.js/0.144.0/three.min.js"></script>
	<script type="text/javascript">
		// 1.新建场景
		const scene = new THREE.Scene();

		// 2.新建照相机, 把照相机添加到场景中(照相机也是特殊的物体)
		const camera = new THREE.PerspectiveCamera(75, window.innerWidth/window.innerHeight, 0.1, 1000);
		scene.add(camera);

		// 3.新建物体(形状,材质), 把物体添加到场景中
		const boxShape = new THREE.BoxGeometry(1,1,1);
		const boxMaterical = new THREE.MeshBasicMaterial({color: 0xffff00 });
		const boxMesh = new THREE.Mesh(boxShape, boxMaterical);
		scene.add(boxMesh);
		// boxMesh.position.set(0, 0, 3);

		camera.position.set(0,0, 3); // 设置相机的位置, 至关重要; 默认 scene.add(), 会将物体添加到 (0,0,0)

		// 4.新建渲染器, 设置渲染器的大小
		const renderer = new THREE.WebGLRenderer();
		renderer.setSize(window.innerWidth, window.innerHeight);

		// 5.把渲染器的的DOM节点挂载倒视图
		document.body.appendChild(renderer.domElement);

		// 6.启动渲染器
		// renderer.render(scene, camera);
		// 请求下一帧的动画(优化, 按需渲染 减少不必要的渲染 例如 监听用户鼠标缩放 拖拽事件 当用户鼠标发生交互才进行渲染)
		function animate() {
		    requestAnimationFrame( animate );

		    boxMesh.rotation.x += 0.01;
		    boxMesh.rotation.y += 0.01;

		    renderer.render( scene, camera );
		};

		animate();
	</script>
</html>
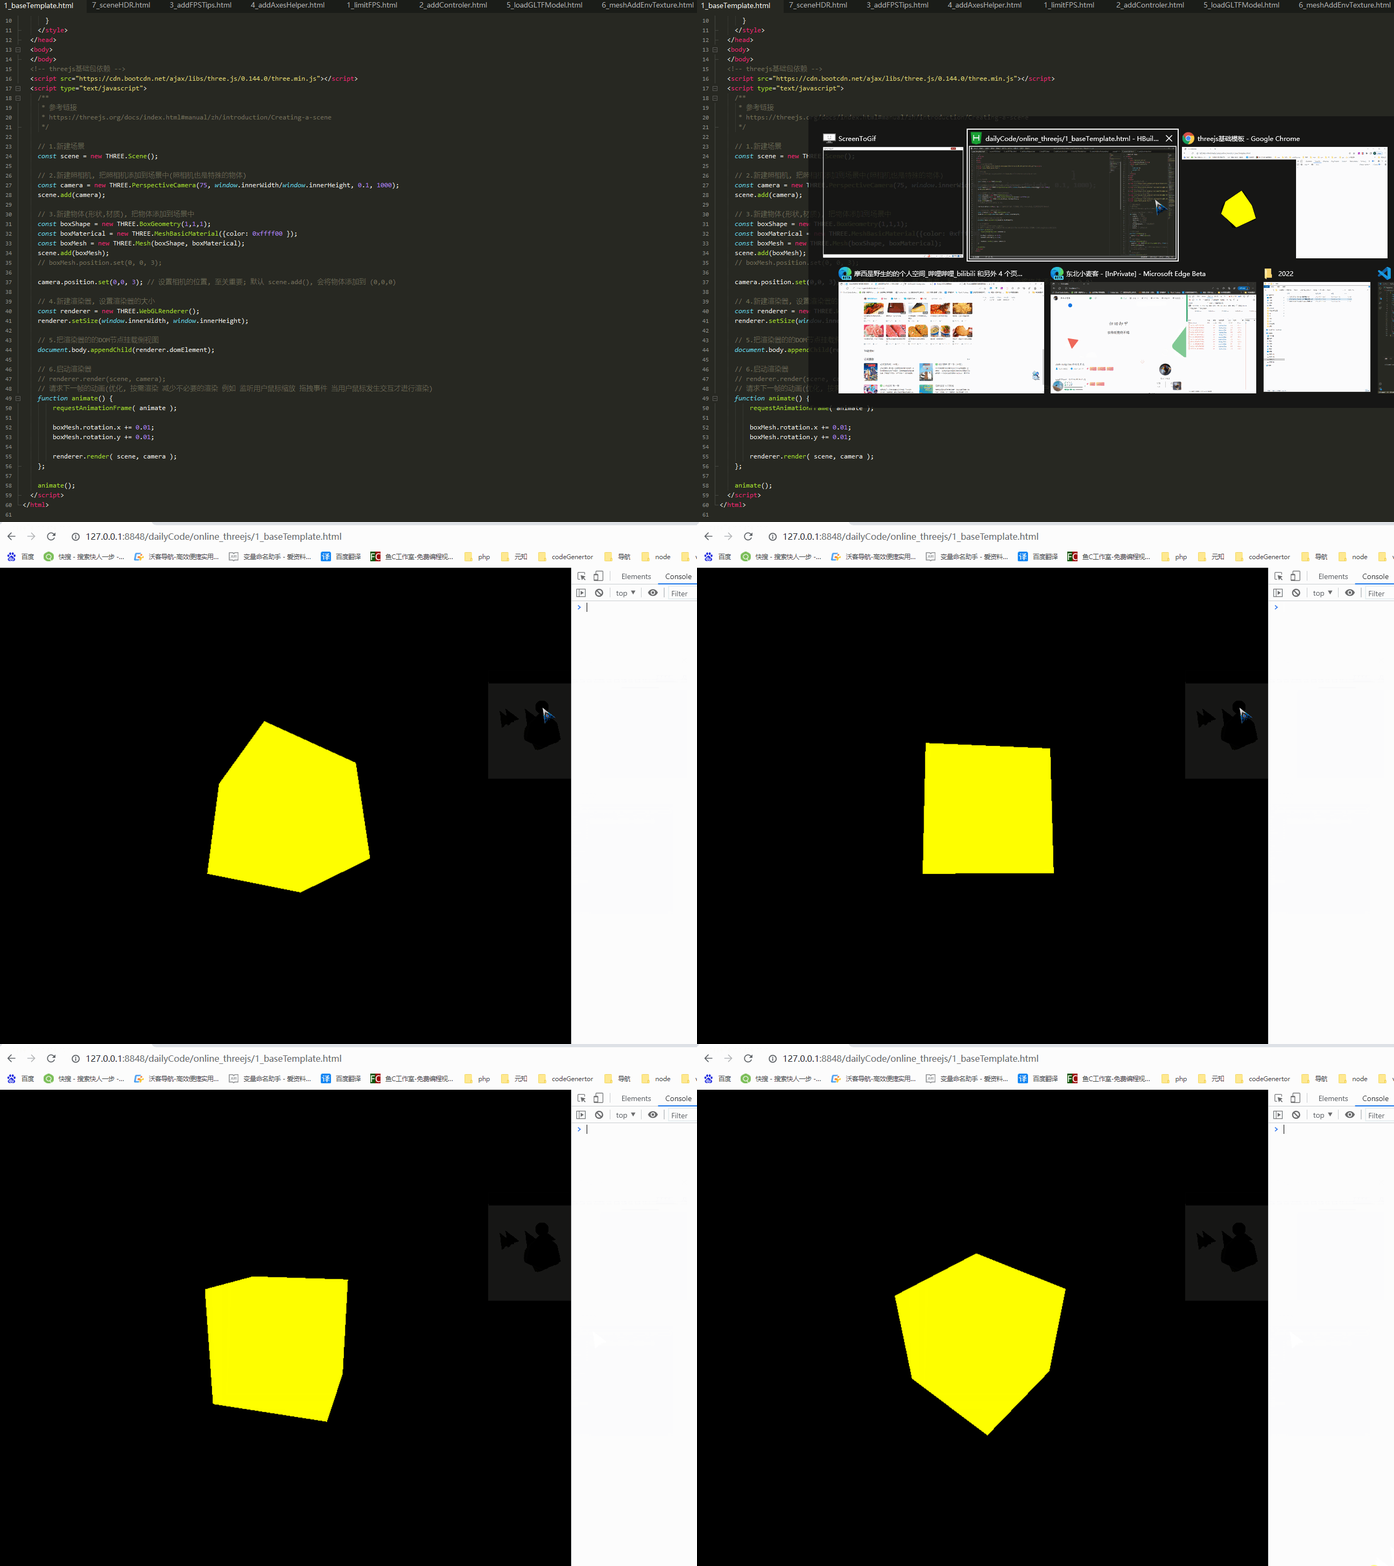
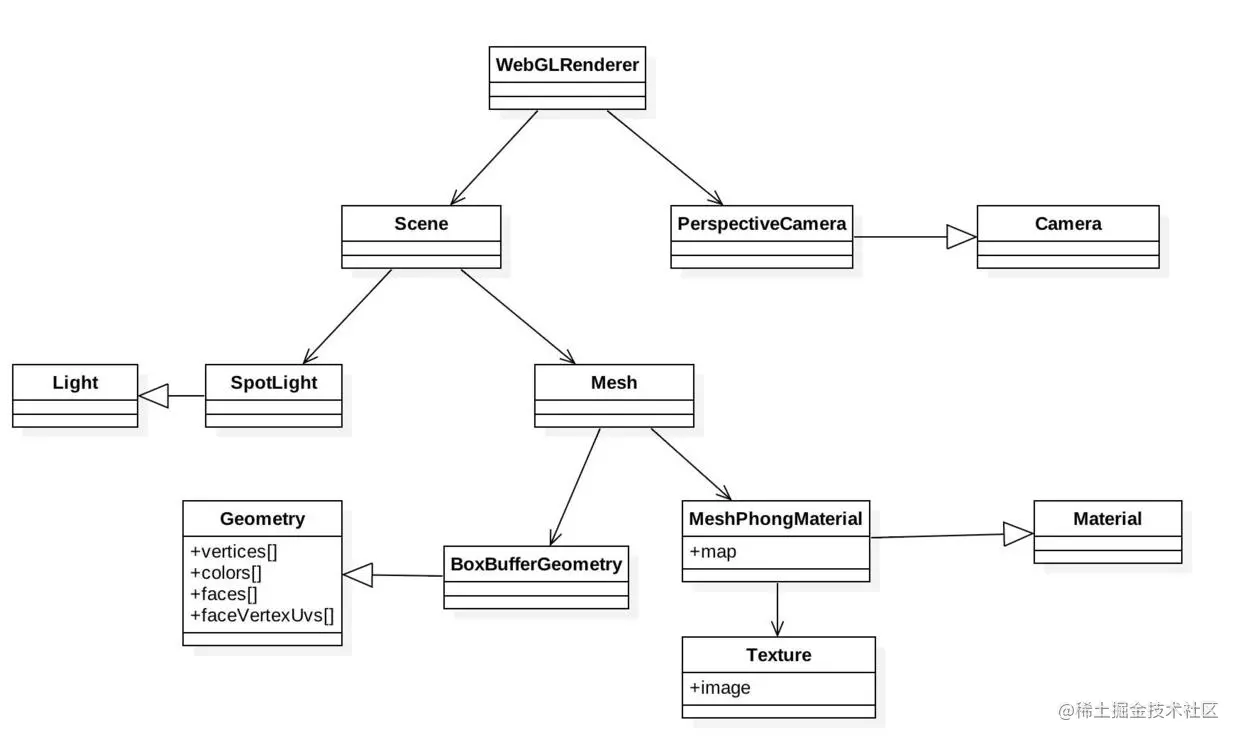
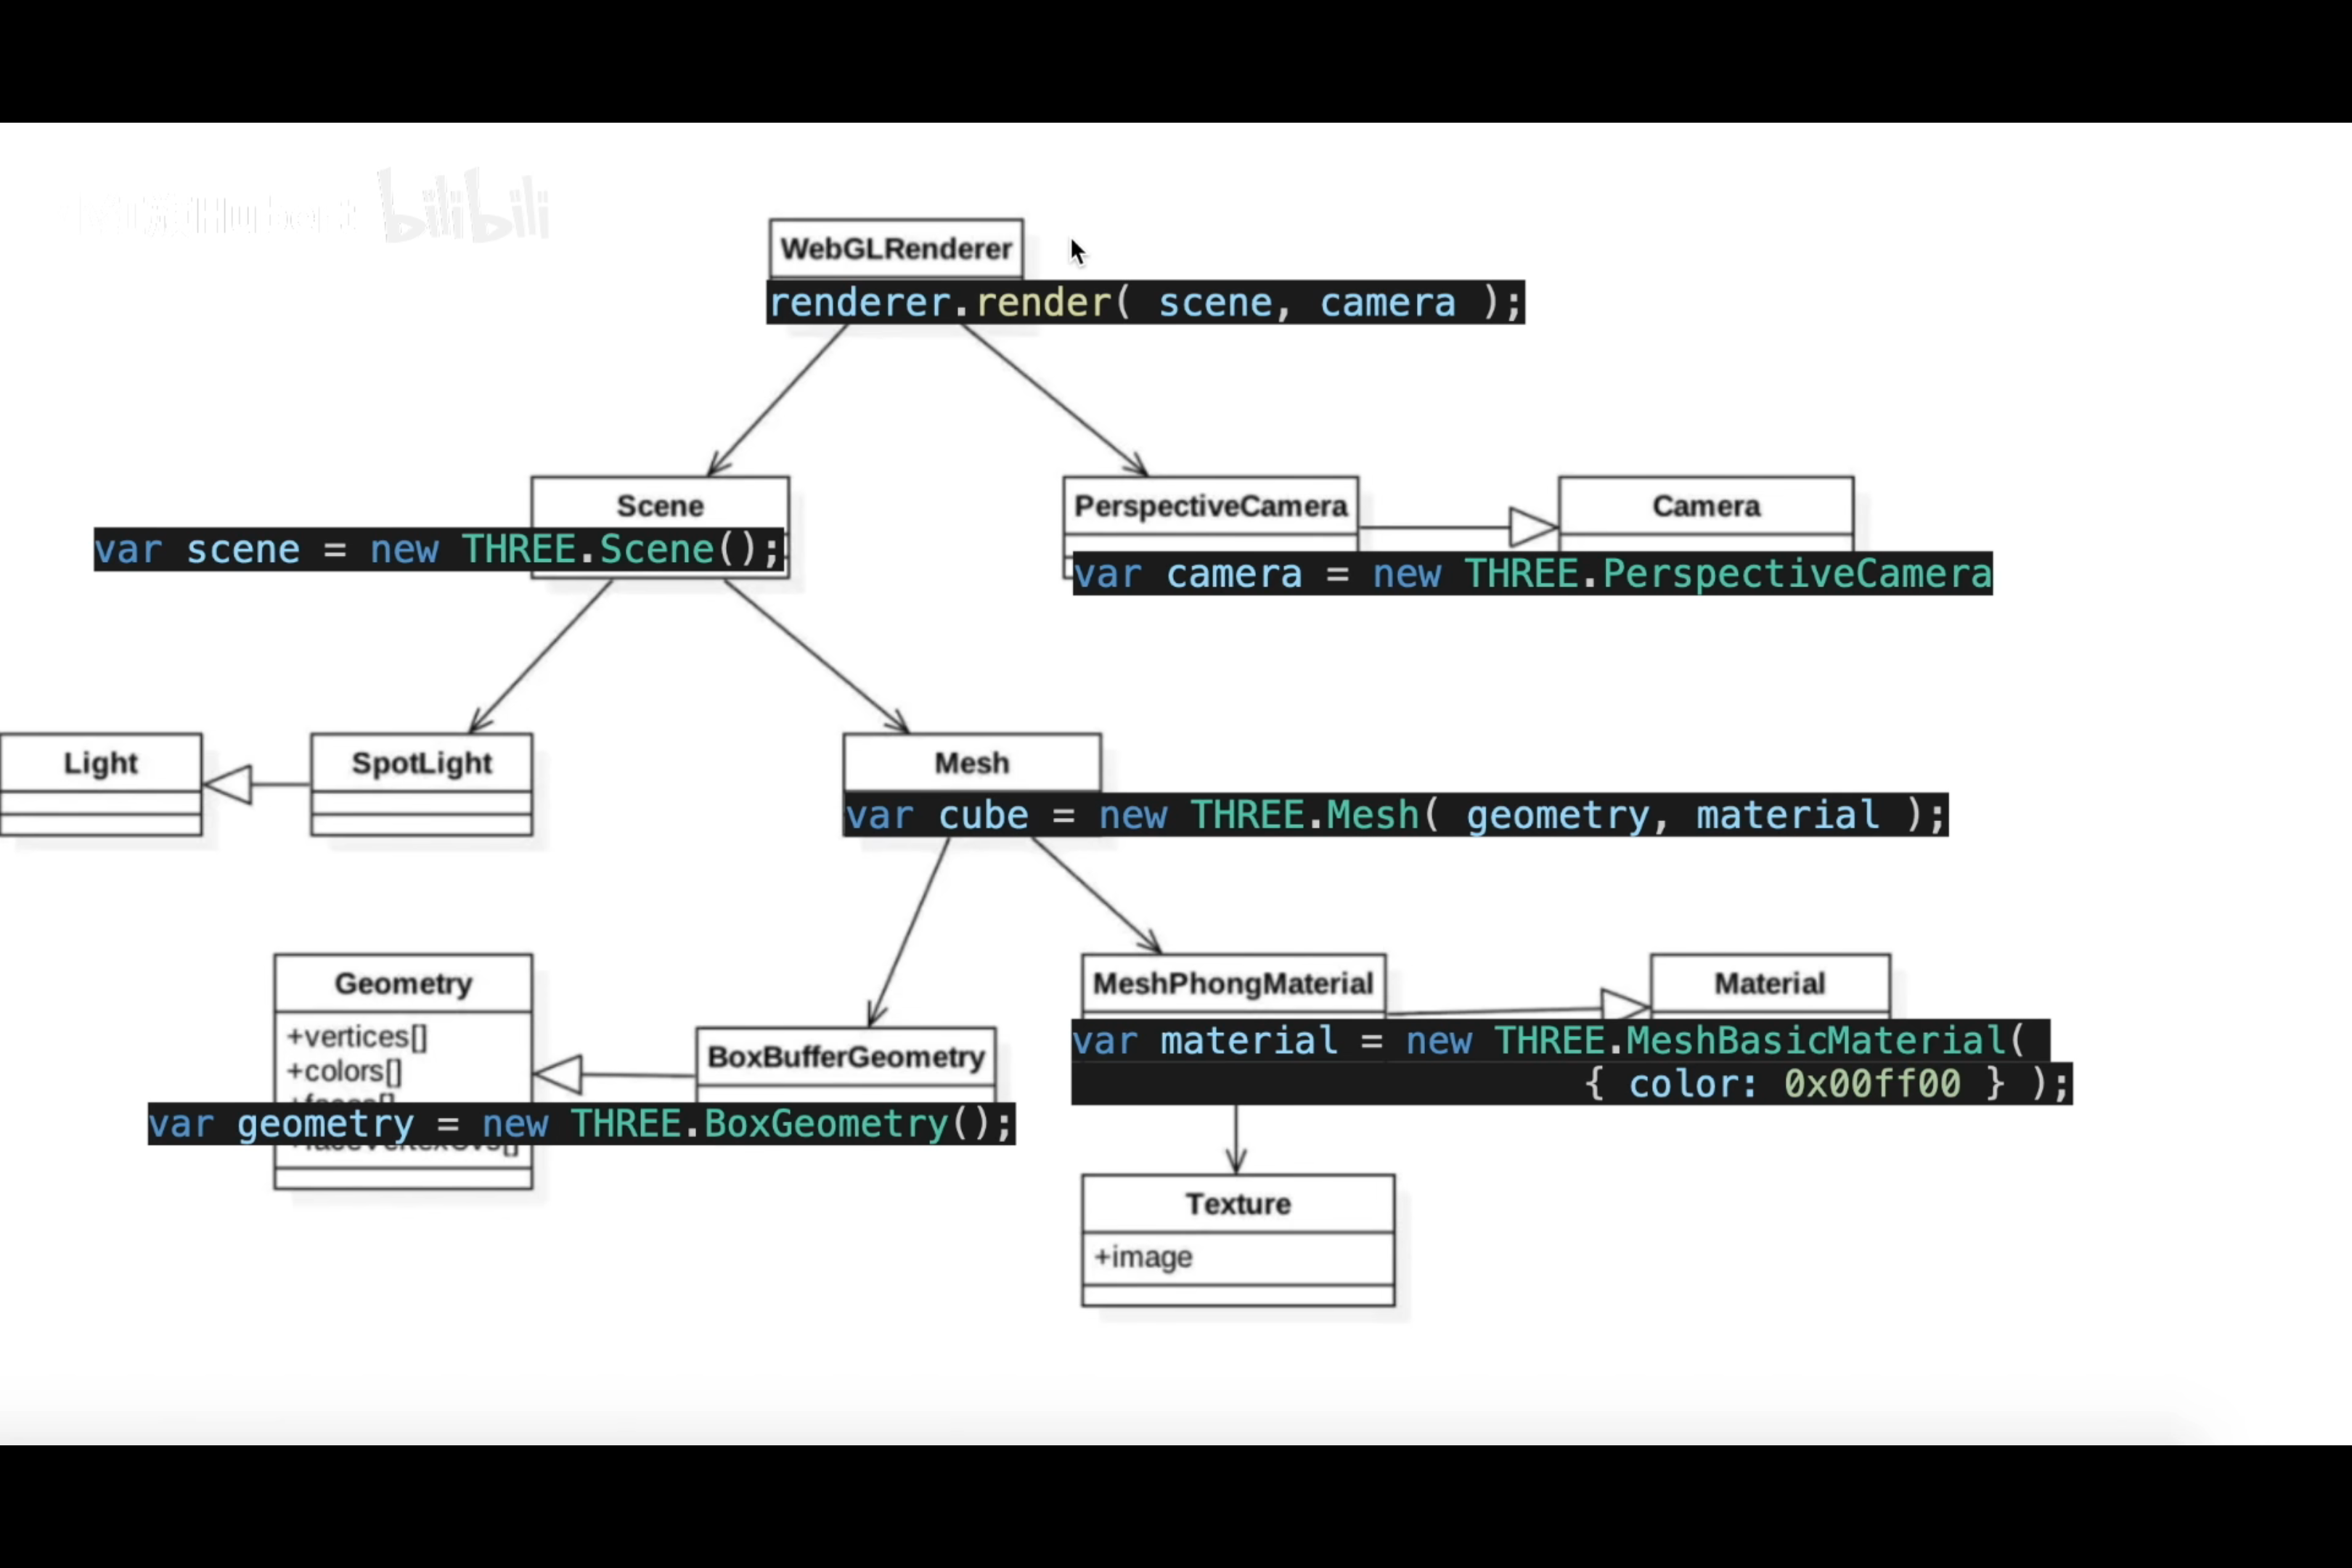
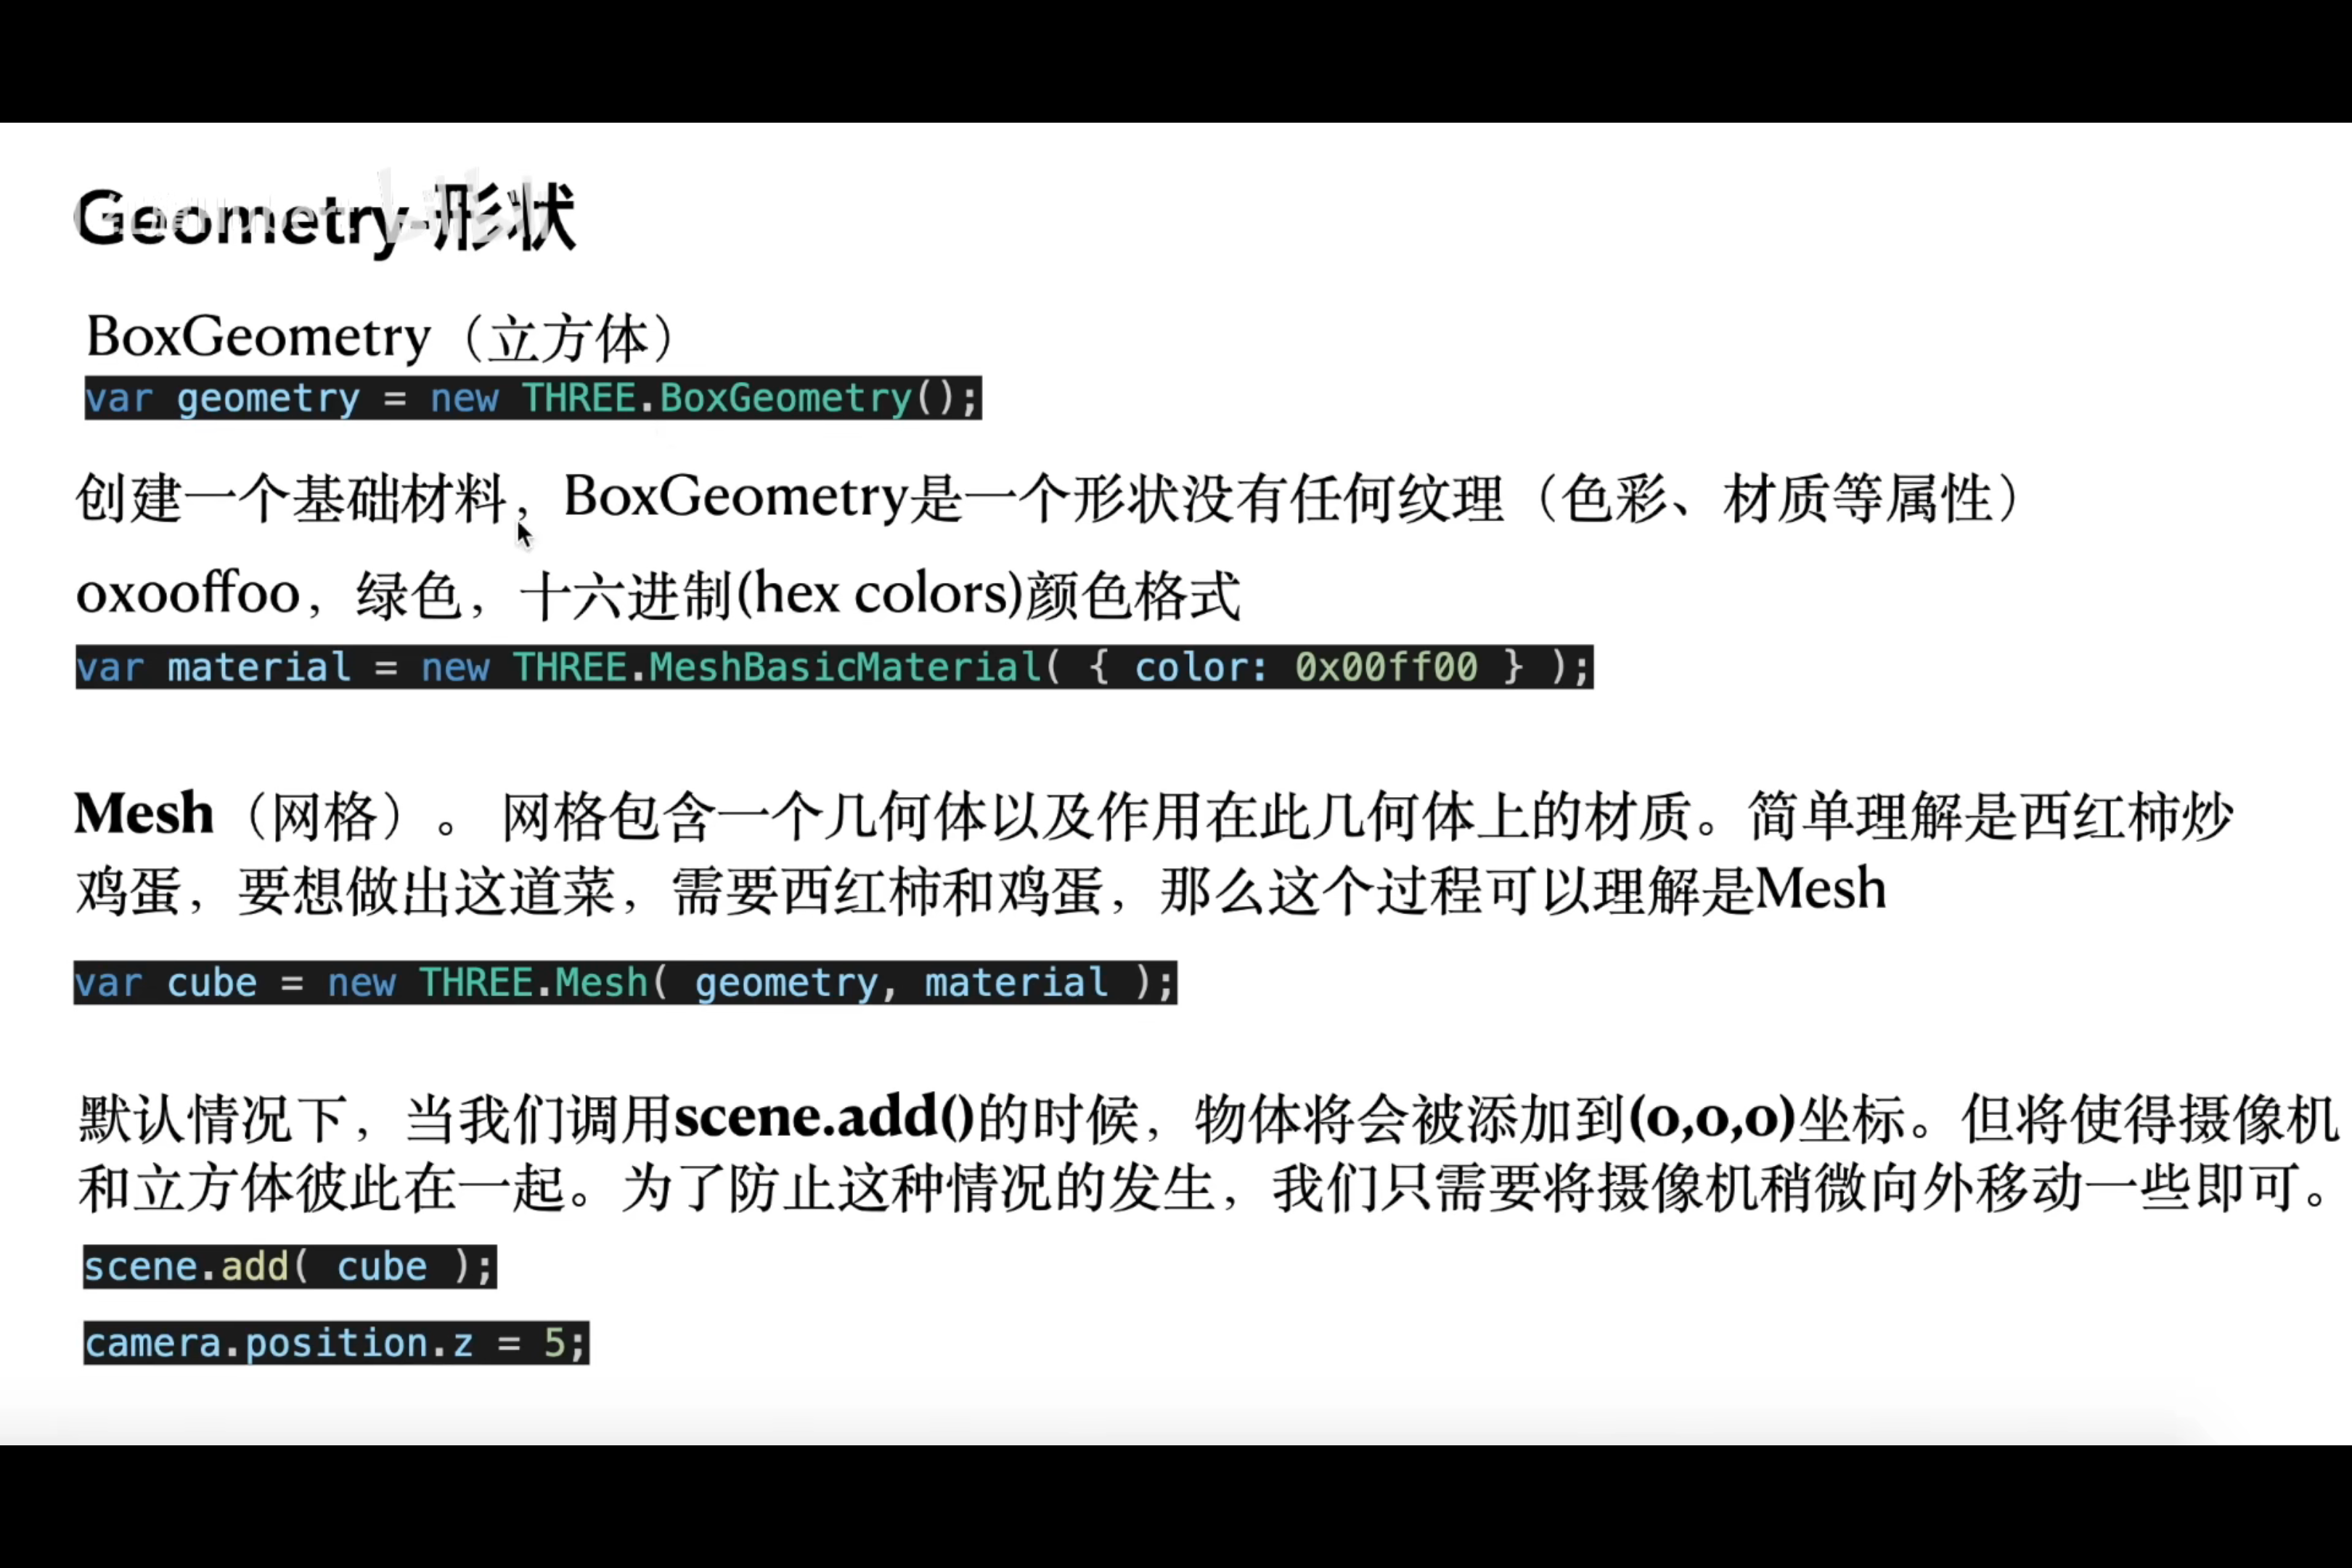
# threejs 如何渲染一个模型
# 控制渲染帧率
控制渲染帧率
- 参考链接
Threejs控制渲染帧率
- http://www.yanhuangxueyuan.com/doc/Three.js/FrameNumber.html
<!DOCTYPE html>
<html>
	<head>
		<meta charset="utf-8">
		<title>控制渲染帧率</title>
		<style type="text/css">
			* {
				padding: 0;
				margin: 0;
			}
		</style>
	</head>
	<body>
	</body>
	<!-- threejs基础包依赖 -->
	<script src="https://cdn.bootcdn.net/ajax/libs/three.js/0.144.0/three.min.js"></script>
	<!-- 挂载相关提示信息的状态组件 -->
	<script src="https://cdn.jsdelivr.net/npm/three@0.144.0/examples/js/libs/stats.min.js"></script>
	<script type="text/javascript">
		// 1.新建场景
		const scene = new THREE.Scene();

		// 2.新建照相机, 把照相机添加到场景中(照相机也是特殊的物体)
		const camera = new THREE.PerspectiveCamera(75, window.innerWidth/window.innerHeight, 0.1, 1000);
		scene.add(camera);

		// 3.新建物体(形状,材质), 把物体添加到场景中
		const boxShape = new THREE.BoxGeometry(1,1,1);
		const boxMaterical = new THREE.MeshBasicMaterial({color: 0xffff00 });
		const boxMesh = new THREE.Mesh(boxShape, boxMaterical);
		scene.add(boxMesh);
		// boxMesh.position.set(0, 0, 3);

		camera.position.set(0,0, 3); // 设置相机的位置, 至关重要; 默认 scene.add(), 会将物体添加到 (0,0,0)

		// 4.新建渲染器, 设置渲染器的大小
		const renderer = new THREE.WebGLRenderer();
		renderer.setSize(window.innerWidth, window.innerHeight);

		// 5.把渲染器的的DOM节点挂载倒视图
		document.body.appendChild(renderer.domElement);

		// 添加fps提示
		function initStatus() {
		    const stats = new Stats();
		    //设置统计模式
		    // stats.setMode(); // 0: fps, 1: ms 2: memory
		    //统计信息显示在左上角
		    stats.domElement.style.position = 'fixed';
		    stats.domElement.style.left = '0px';
		    stats.domElement.style.top = '0px';
		    //将统计对象挂载到对应的元素中
		    document.body.appendChild(stats.domElement);
		    return stats;
		};
		const stats = initStatus(); //添加fps提示

		// 创建一个时钟对象Clock
		const clock = new THREE.Clock();
		// 设置渲染频率为30FBS,也就是每秒调用渲染器render方法大约30次
		const FPS = 30;
		const renderT = 1 / FPS; //单位秒  间隔多长时间渲染渲染一次
		// 声明一个变量表示render()函数被多次调用累积时间
		// 如果执行一次renderer.render,timeS重新置0
		let timeS = 0;

		// 6.启动渲染器, 请求下一帧的动画;限制渲染的帧率
		function animate() {
		  requestAnimationFrame(animate);
		  // clock.getDelta()方法获得两帧的时间间隔
		  const T = clock.getDelta();
		  timeS = timeS + T;
		  // requestAnimationFrame默认调用render函数60次,通过时间判断,降低renderer.render执行频率
		  if (timeS > renderT) {
		    // 控制台查看渲染器渲染方法的调用周期,也就是间隔时间是多少
		  //   console.log(`调用.render时间间隔`,timeS*1000+'毫秒');
		    renderer.render(scene, camera); //执行渲染操作
		    stats.update();

		    // renderer.render每执行一次,timeS置0
		    timeS = 0;
		  }
		}


		animate();
	</script>
</html>
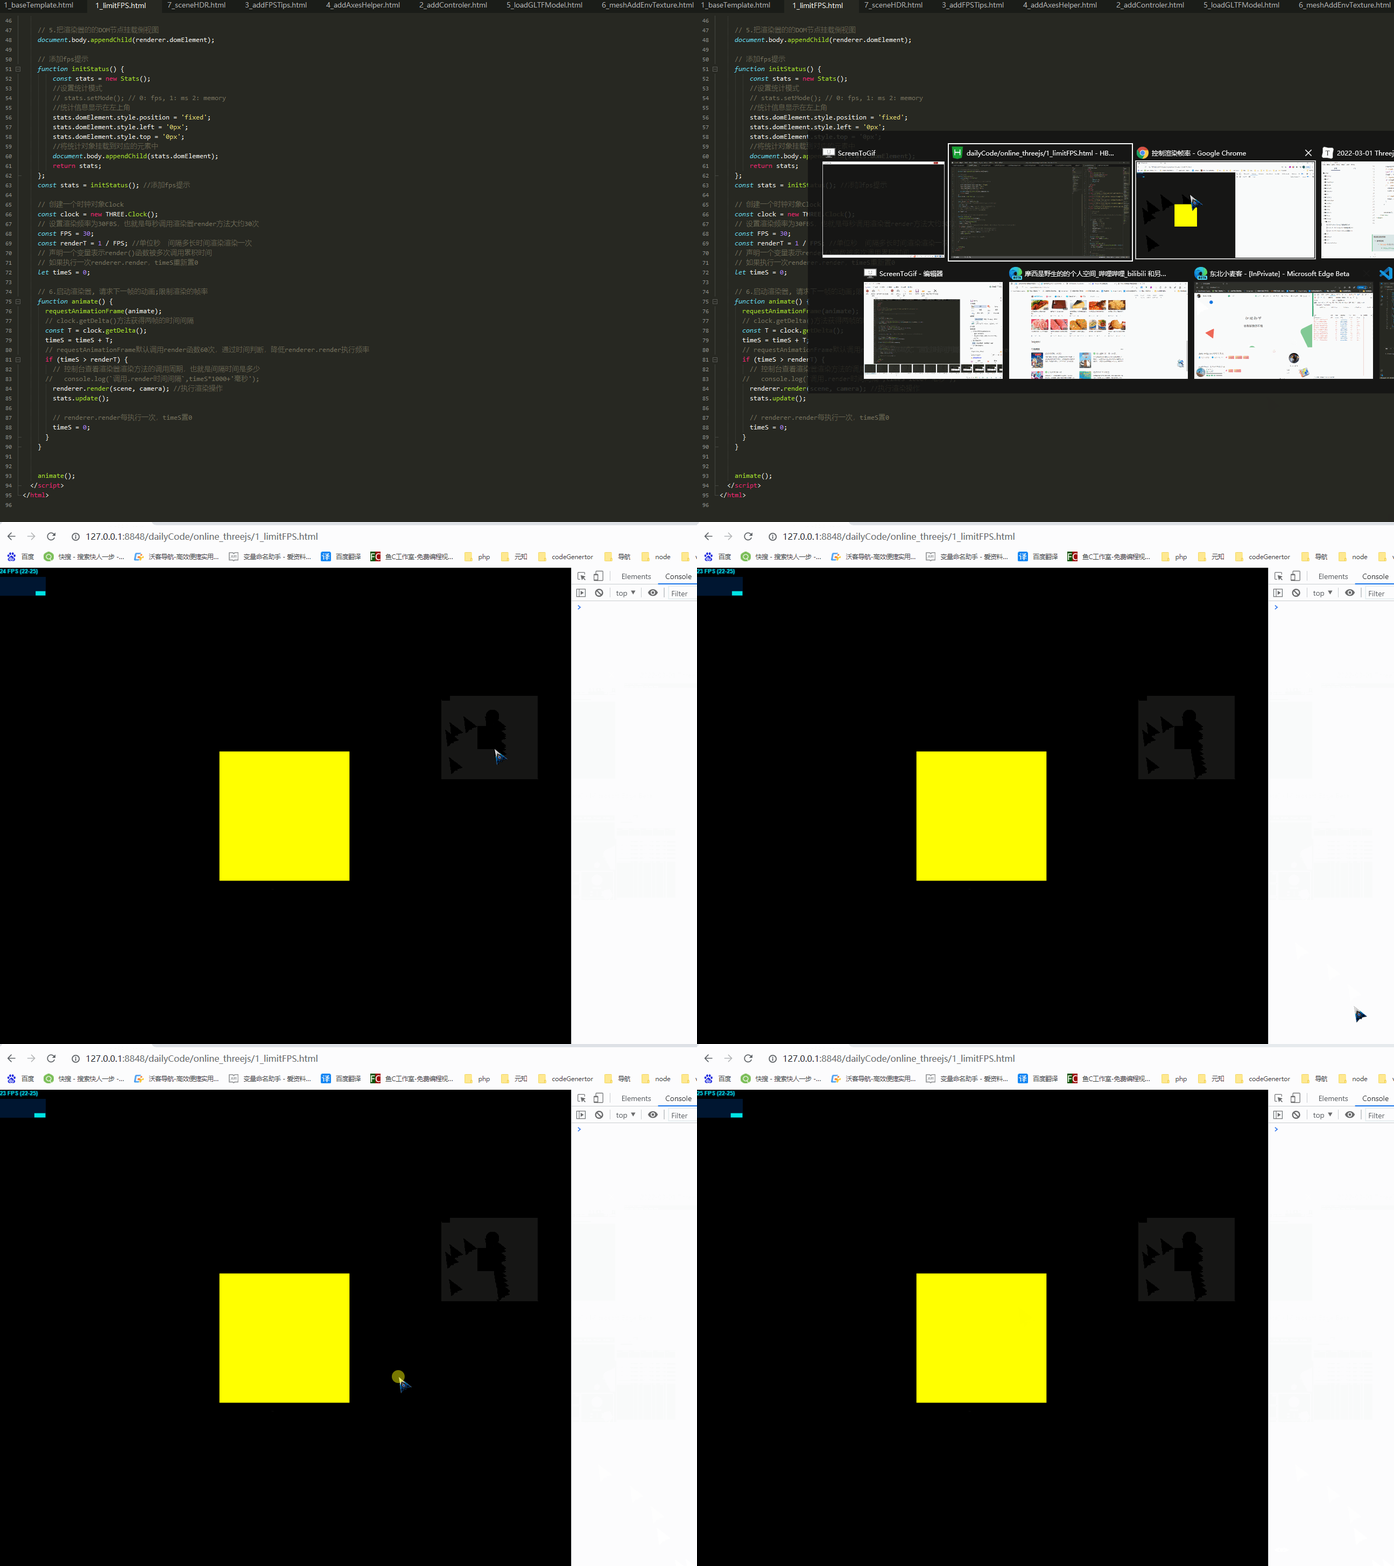
# 添加轨道控制器
添加轨道控制器
- 参考链接
Threejs轨道控制器
- https://threejs.org/docs/index.html?q=controls#examples/zh/controls/OrbitControls
<!DOCTYPE html>
<html>
	<head>
		<meta charset="utf-8">
		<title>添加轨道控制器</title>
		<style type="text/css">
			* {
				padding: 0;
				margin: 0;
			}
		</style>
	</head>
	<body>
	</body>
	<!-- threejs基础包依赖 -->
	<script src="https://cdn.bootcdn.net/ajax/libs/three.js/0.144.0/three.min.js"></script>
	<!-- threejs轨道控制器 -->
	<script src="https://cdn.jsdelivr.net/npm/three@0.144.0/examples/js/controls/OrbitControls.js"></script>
	<script type="text/javascript">
		var scene, // 场景
		    camera, // 摄像机
		    renderer, // 渲染器
		    controls, // 轨道控制器
		    boxMesh; // 正方体

		// 初始化场景
		function initScene() {
		  scene = new THREE.Scene();
		};
		// 初始化摄像机
		function initCamera() {
		  camera = new THREE.PerspectiveCamera(70, window.innerWidth/window.innerHeight, 0.1, 1000);
		  scene.add(camera);
		};
		// 加载 模型
		function loaderCarModel() {
		  const boxShape = new THREE.BoxGeometry(1,1,1);
		  const boxMaterical = new THREE.MeshBasicMaterial({color: 0xffff00 });
		  const boxMesh = new THREE.Mesh(boxShape, boxMaterical);
		  scene.add(boxMesh);
		  // boxMesh.position.set(0, 0, 3);
		};
		// 添加fps提示
		function initStatus() {
		  stats = new Stats();
		  //设置统计模式
		  // stats.setMode(); // 0: fps, 1: ms 2: memory
		  //统计信息显示在左上角
		  stats.domElement.style.position = 'fixed';
		  stats.domElement.style.left = '0px';
		  stats.domElement.style.top = '0px';
		  //将统计对象添加到对应的<div>元素中
		  document.body.appendChild(stats.domElement);
		};
		// 初始化场景灯光
		function initLight() {
		  const light = new THREE.AmbientLight(0xFFFFFF);
		  scene.add(light);
		};
		/**
		 * 设置控制器的最小,最大视野
		 * 控制器的可选属性, 与所选择的摄像机类型有关
		 */
		function initControlerView(){
		  controls = new THREE.OrbitControls(camera, renderer.domElement);
		  controls.minDistance = 3; // 能够将相机向内移动多少(仅适用于PerspectiveCamera);其默认值为0。
		  controls.maxDistance = 30; // 能够将相机向外移动多少(仅适用于PerspectiveCamera);其默认值为Infinity。
		};
		// 初始化渲染器
		function initRenderer() {
		  renderer = new THREE.WebGLRenderer();
		  // renderer.setClearAlpha(0.0);
		  renderer.setSize(window.innerWidth, window.innerHeight);
		  document.body.appendChild(renderer.domElement);
		};
		// 渲染函数
		function animate() {
		    requestAnimationFrame(animate);
		    controls.update();

		    renderer.render( scene, camera );
		};
		// 主函数
		function main() {
		  // 1.新建场景
		  initScene();

		  // 2.新建照相机, 把照相机添加到场景中(照相机也是特殊的物体)
		  initCamera();

		  // 3.新建物体(形状,材质), 把物体添加到场景中
		  loaderCarModel();
		  camera.position.set(0,15,15); // 设置相机的位置, 至关重要; 默认 scene.add(), 会将物体添加到 (0,0,0)
		  // 初始化场景灯光
		  initLight();

		  // 4.新建渲染器, 设置渲染器的大小; 把渲染器的的DOM节点挂载倒视图
		  initRenderer();
		  initControlerView(); // 添加轨道控制器

		  // 5.启动渲染器, 请求下一帧的动画
		  animate();

		};

		/** 启动主函数 **/
		main();
	</script>
</html>
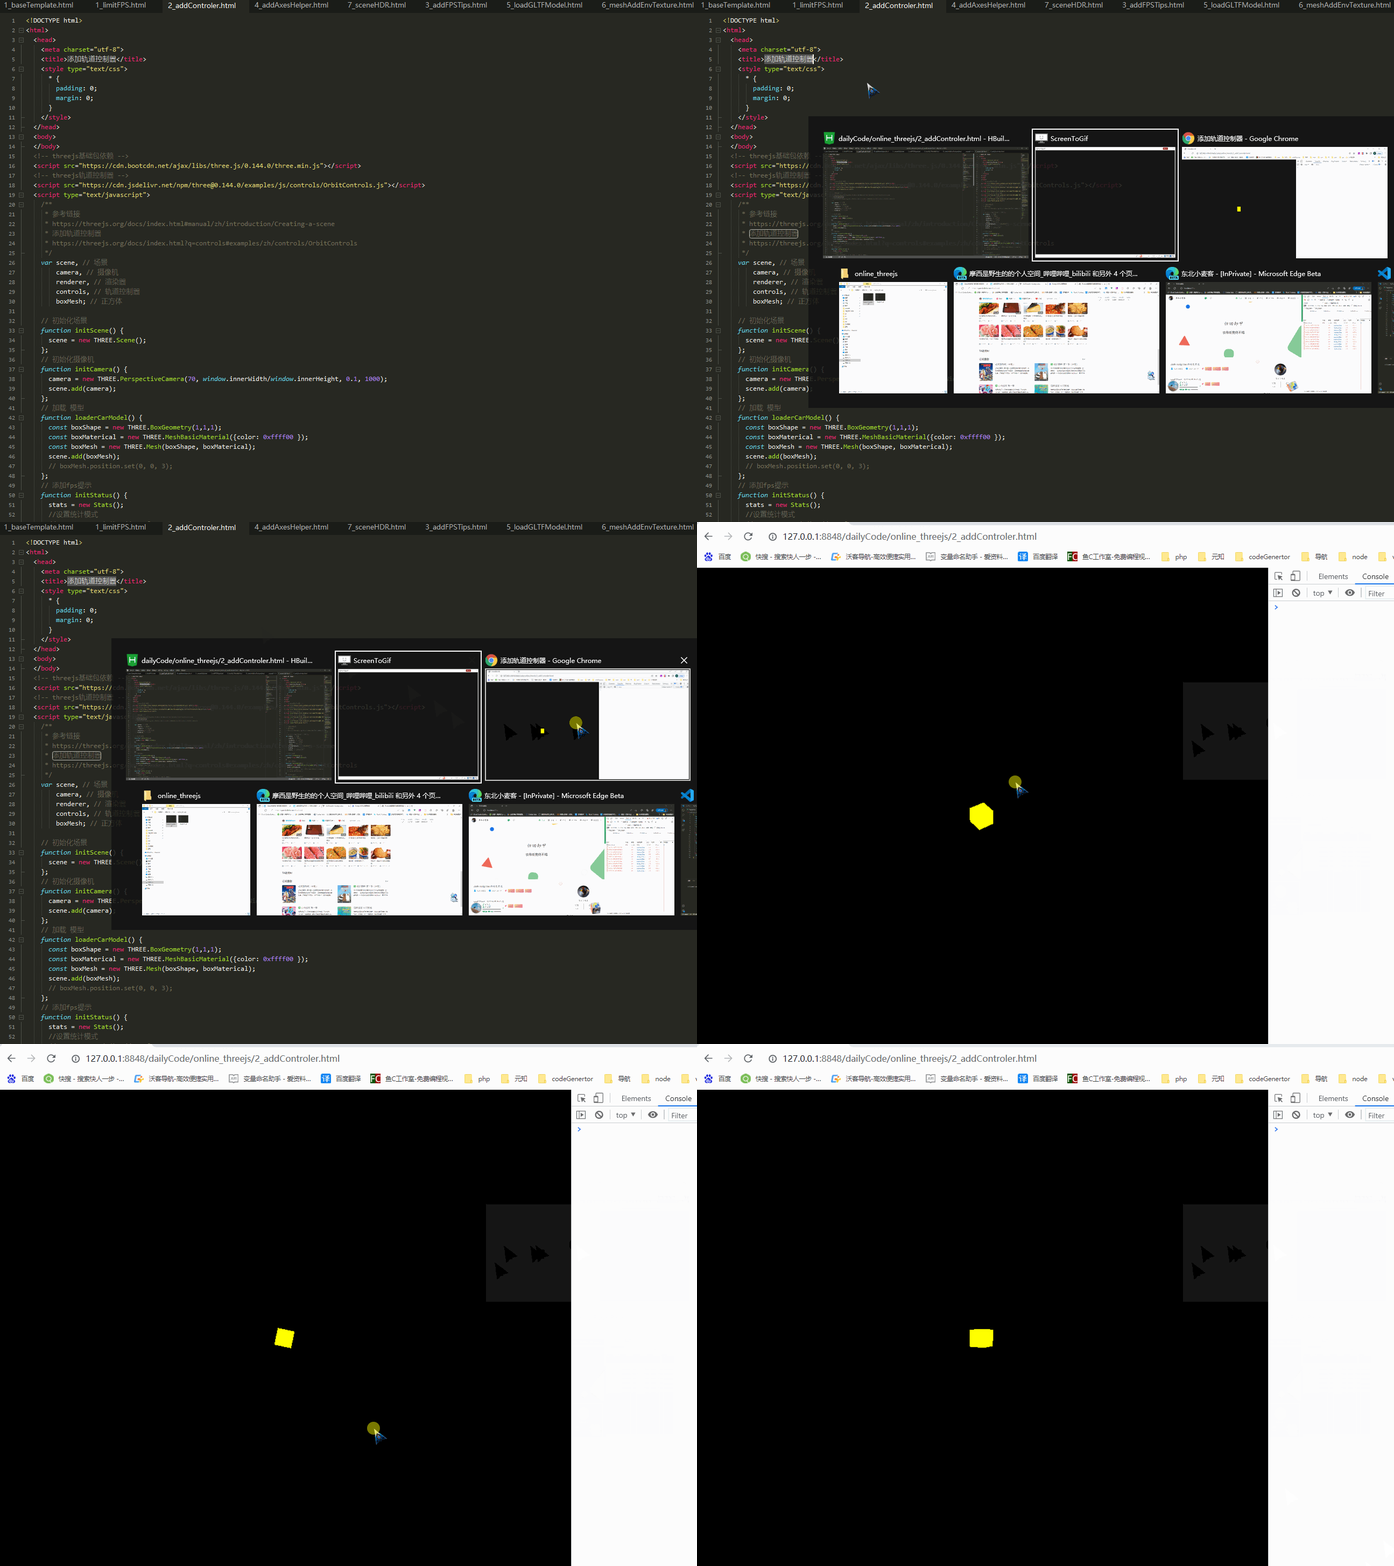
# 添加辅助坐标系
添加辅助坐标系
- 参考链接
Threejs辅助坐标系
- https://threejs.org/docs/index.html?q=ax#api/zh/helpers/AxesHelper
<!DOCTYPE html>
<html>
	<head>
		<meta charset="utf-8">
		<title>添加辅助坐标系</title>
		<style type="text/css">
			* {
				padding: 0;
				margin: 0;
			}
		</style>
	</head>
	<body>
	</body>
	<!-- threejs基础包依赖 -->
	<script src="https://cdn.bootcdn.net/ajax/libs/three.js/0.144.0/three.min.js"></script>
	<!-- 挂载相关提示信息的状态组件 -->
	<script src="https://cdn.jsdelivr.net/npm/three@0.144.0/examples/js/libs/stats.min.js"></script>
	<!-- threejs轨道控制器 -->
	<script src="https://cdn.jsdelivr.net/npm/three@0.144.0/examples/js/controls/OrbitControls.js"></script>
	<script type="text/javascript">
		var scene, // 场景
		    camera, // 摄像机
		    renderer, // 渲染器
		    controls, // 轨道控制器
		    stats, // 统计信息
		    boxMesh; // 正方体

		// 添加fps提示
		function initStatus() {
		  const stats = new Stats();
		  //设置统计模式
		  // stats.setMode(); // 0: fps, 1: ms 2: memory
		  //统计信息显示在左上角
		  stats.domElement.style.position = 'fixed';
		  stats.domElement.style.left = '0px';
		  stats.domElement.style.top = '0px';
		  //将统计对象添加到对应的<div>元素中
		  document.body.appendChild(stats.domElement);
		  return stats;
		};
		function loaderCarModel () {
		  const boxShape = new THREE.BoxGeometry(1,1,1);
		  const boxMaterical = new THREE.MeshBasicMaterial({color: 0xffff00 });
		  boxMesh = new THREE.Mesh(boxShape, boxMaterical);
		  scene.add(boxMesh);
		};
		// 渲染函数
		function animate() {
		    requestAnimationFrame(animate);
		    stats.update();
		    controls.update();

		    boxMesh.position.x += 0.01;
		    camera.lookAt(boxMesh.position);
		    if(boxMesh.position.x > 5) {
		      boxMesh.position.x = 0;
		    }

		    renderer.render( scene, camera );
		};
		// 主函数
		function main() {
		  // 1.新建场景
		  scene = new THREE.Scene();

		  // 2.新建照相机, 把照相机添加到场景中(照相机也是特殊的物体)
		  camera = new THREE.PerspectiveCamera(70, window.innerWidth/window.innerHeight, 0.1, 1000);
		  scene.add(camera);

		  // 3.新建物体(形状,材质), 把物体添加到场景中
		  loaderCarModel();
		  // 添加灯光
		  const light = new THREE.AmbientLight(0xFFFFFF);
		  scene.add(light);

		  camera.position.set(5, 5, 5); // 设置相机的位置, 至关重要; 默认 scene.add(), 会将物体添加到 (0,0,0)

		  // 4.新建渲染器, 设置渲染器的大小
		  renderer = new THREE.WebGLRenderer({
		    alpha: true,
		    antialias: true,
		  });
		  // renderer.setClearAlpha(0.0);
		  renderer.setSize(window.innerWidth, window.innerHeight);

		  // 5.把渲染器的的DOM节点挂载倒视图
		  document.body.appendChild(renderer.domElement);

		  controls = new THREE.OrbitControls(camera, renderer.domElement); // 添加轨道控制器
		  stats = initStatus(); //添加fps提示

		  // 添加辅助坐标系
		  const axesHelper = new THREE.AxesHelper(10);
		  scene.add(axesHelper);

		  // 6.启动渲染器, 请求下一帧的动画
		  animate();

		};

		/** 启动主函数 **/
		main();
	</script>
</html>
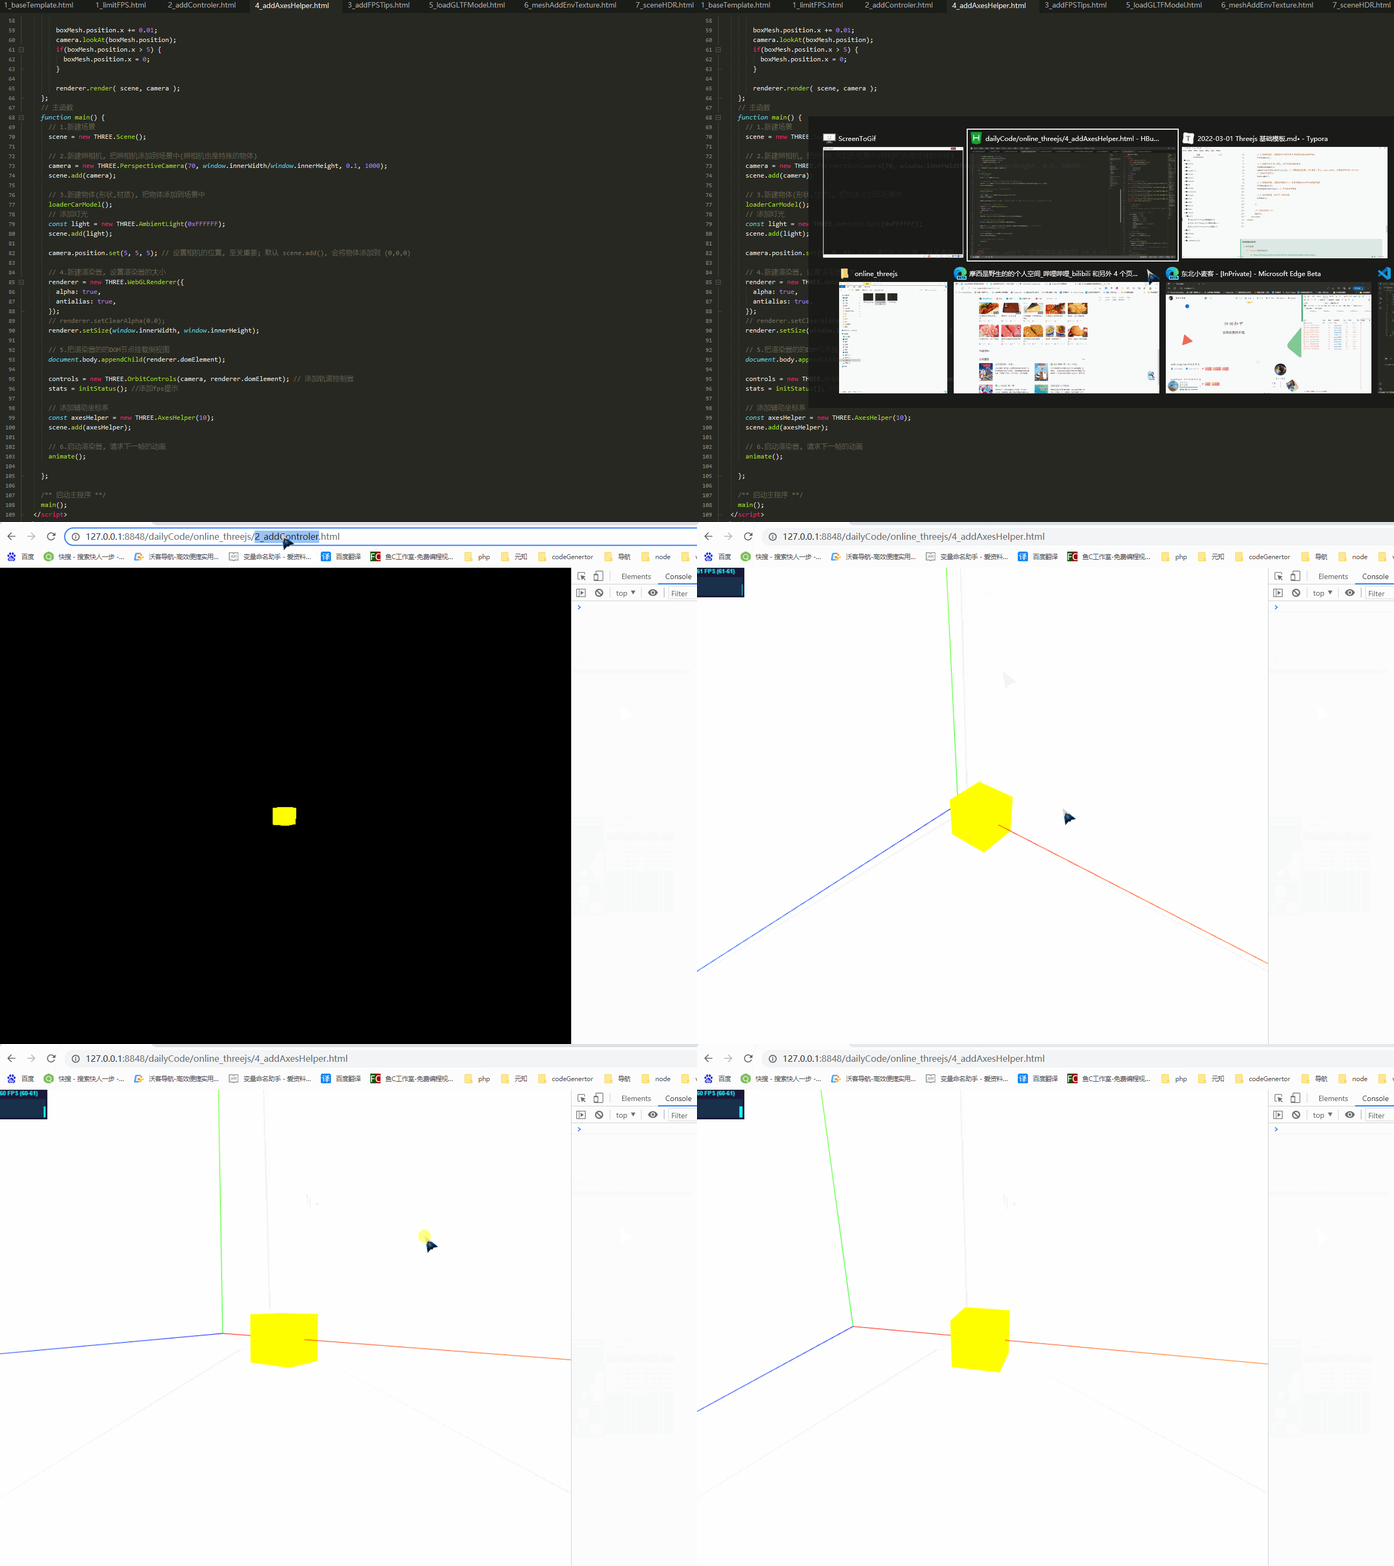
# *大模型的解决思路
# 加载方面
>模型压缩
https://blog.csdn.net/qq_26887683/article/details/121694689
http://www.xiaobaigis.com/Home/WebArticle?ID=144
nodejs库 gltf-pipeline进行压缩
	google draco 减少顶点坐标、顶点纹理坐标等信息的位数,以减少数据的存储量;
在线模型压缩  https://gltf.report

模型分片
	毕安格BIM模型轻量化
# 渲染方面
参考资料
- https://juejin.cn/post/6844903823496986631 2.限制渲染的帧率


